Symbols Tab
Symbols tab of the Schematic module is not only used to insert symbols to the schematics but also used to create, edit, delete, etc. new symbols. The tab mainly is divided into three sections: Selection section, Symbol icons area and Insertion settings area.
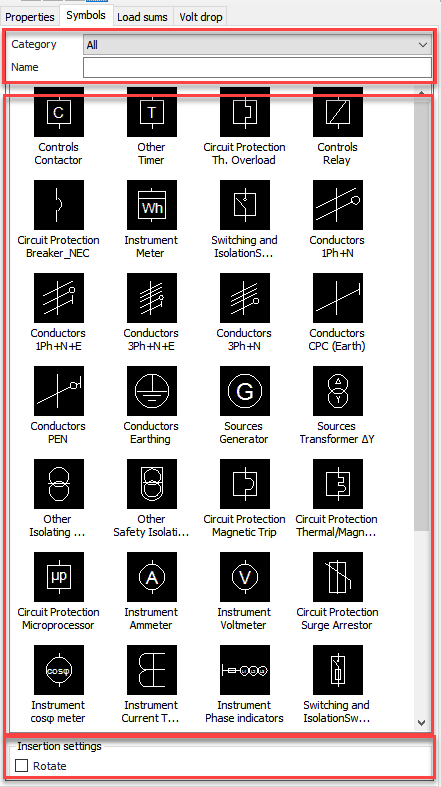
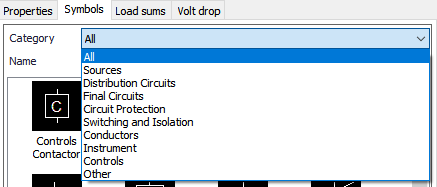
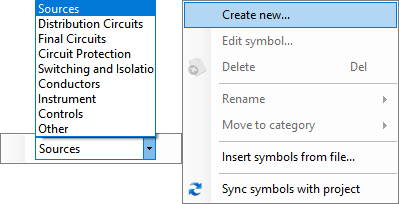
The Category drop down menu can be used to narrow down the selection of the symbols displayed in the symbols area. There are multiple categories to select from the list as shown below:
Name field can be used to perform a search by typing in a text into the text filed and using the enter key of the keyboard.
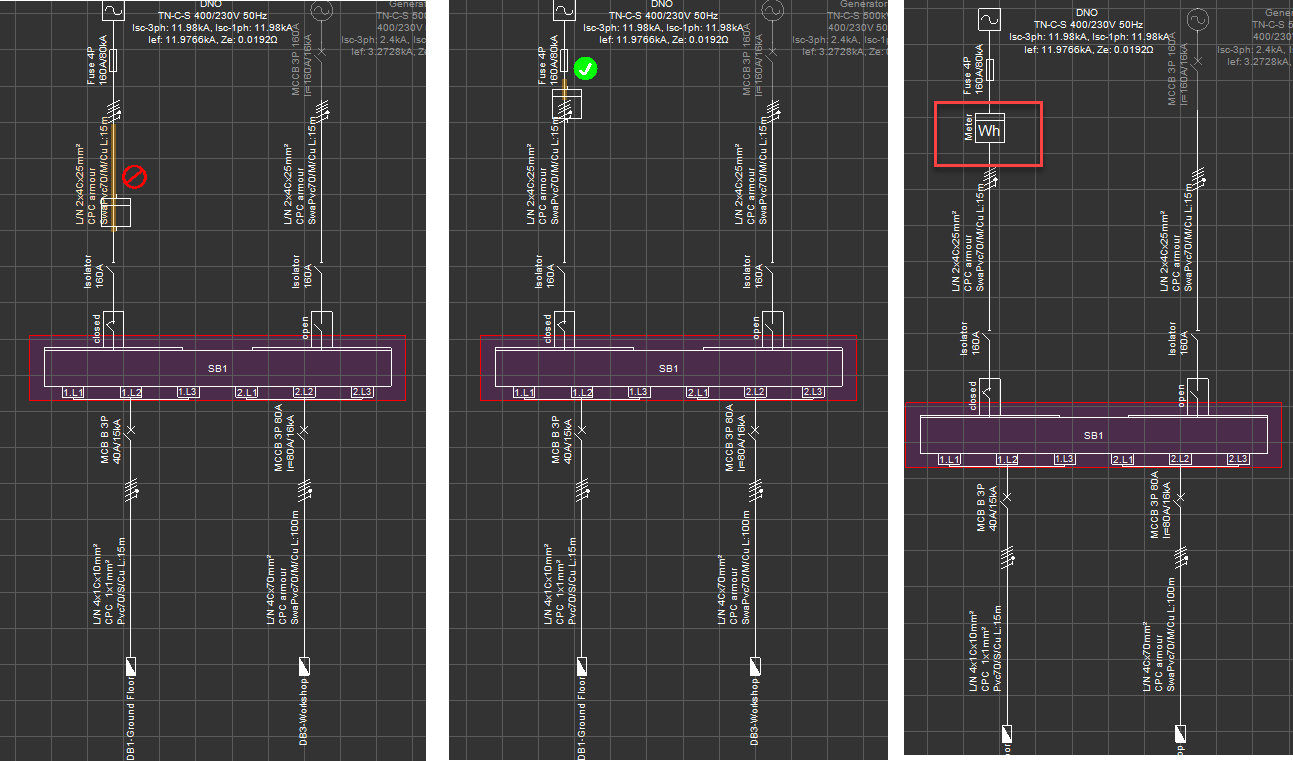
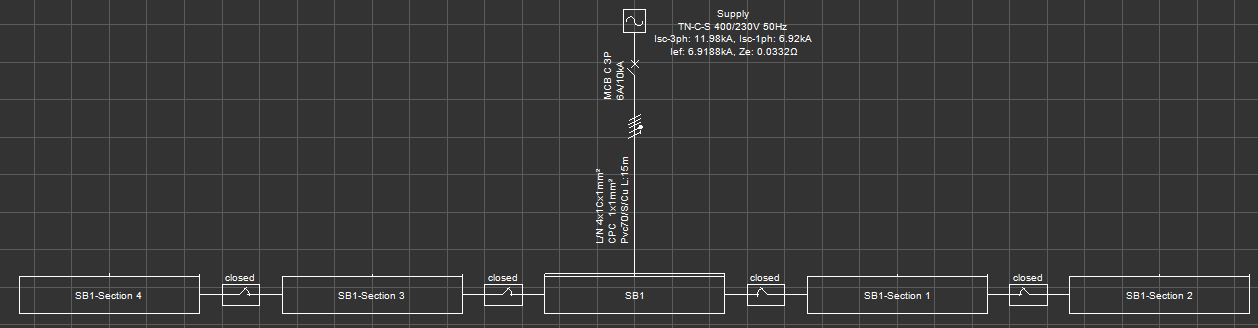
The user may also chose to scroll the symbols area and drag the symbol required into the schematic area. In order to drag a symbol, first, the user must click and drag the symbol icon towards the schematic area while holding the left mouse button. After the symbol icon is within the schematic area, left mouse button must be released. ElectricalOM will display possible insertion points for the selected symbol as the user moves the symbol on the schematic. Red cross denotes the point is not suitable for insertion where a green tick denotes the point is suitable for the selected symbol to be inserted. ElectrcialOM will also highlight insertion points with yellow as the user moves the symbol. Once the user selects a green tick location using the left mouse button. the symbol will be inserted. To cancel insertion, right mouse button can be used.
Rest of the actions can be initiated by using the right-click menu.
.
- Create new... and Edit symbol...: Refer to Creating and Editing a Symbol.
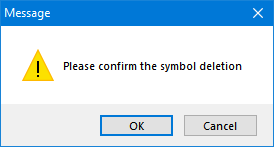
- Delete: The user may delete an existing symbol by selecting its icon from the symbol icons area and choosing Delete from the right-click menu. ElectricalOM will confirm the deleting via a warning message window.
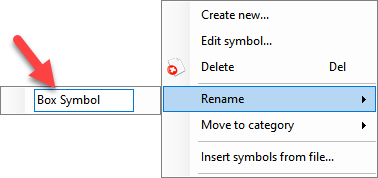
- Rename: This option is used to rename an existing symbol. Once selected, a sub menu will open where the user can click inside the text field and type in a new name for the selected symbol.
- Move to category: This option is used to move an existing symbol from one category to another. Once selected a sub menu will open where a drop down list can be used to select a new category.
- Insert symbols from file...: Refer to Insert symbols from file....
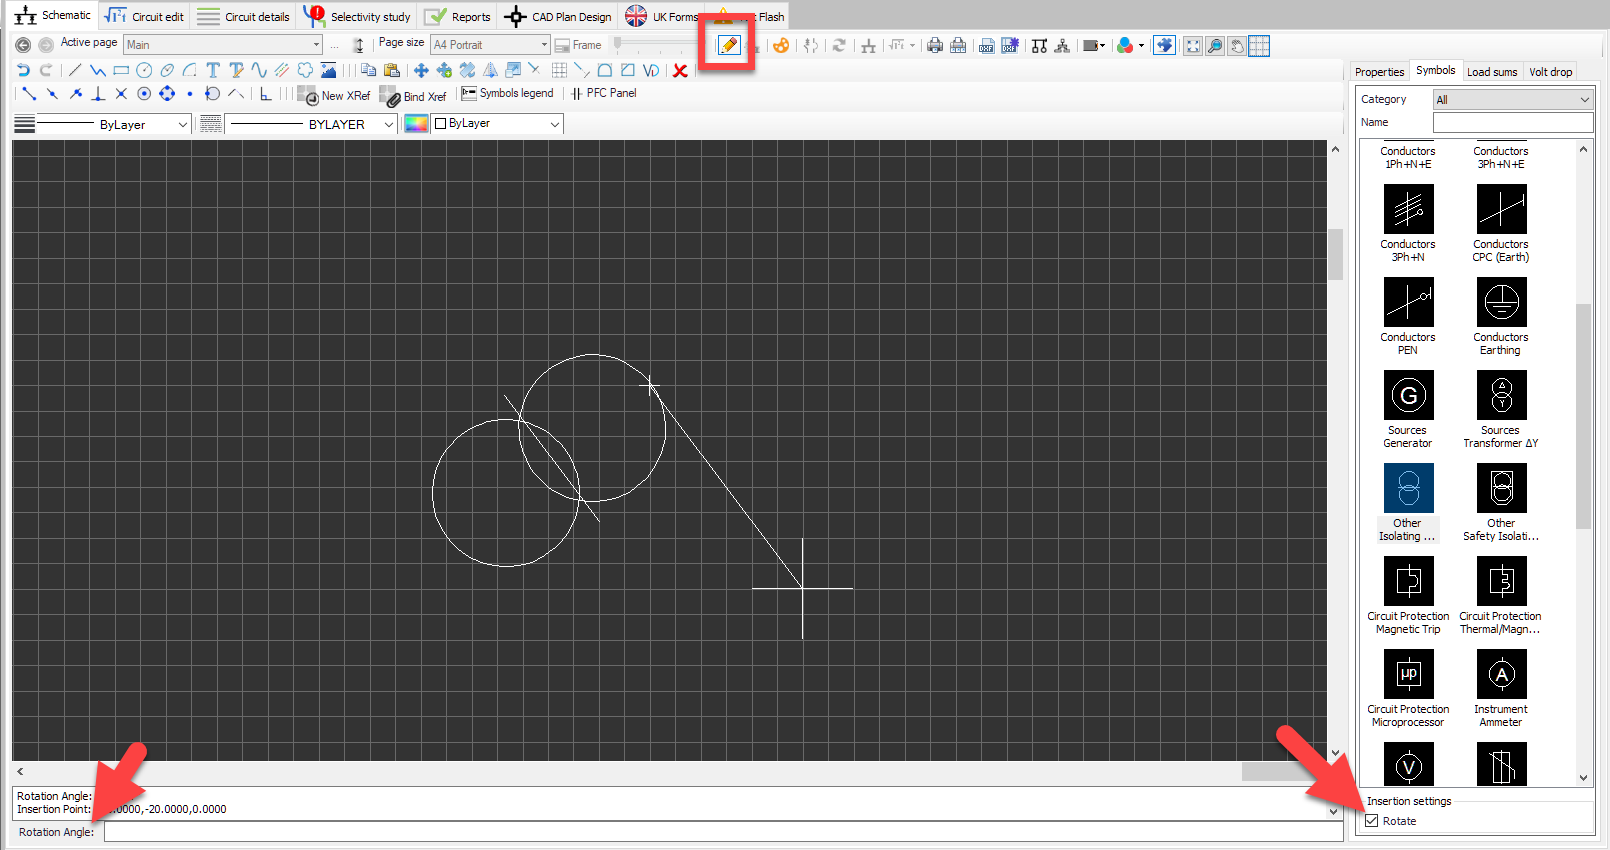
Insertion settings section which is located under the symbol icons area contains the Rotate tick box. This option is only usable when the user is in Manual Drawing Mode and it will enable the user to rotate any symbol inserted to the schematics area as soon as the symbol is inserted.