Cable Schedules
Cable schedules
ElectricalOM can generate cables schedules to use on drawings. In order to launch the cable schedules window, Cable schedules... option must be selected.

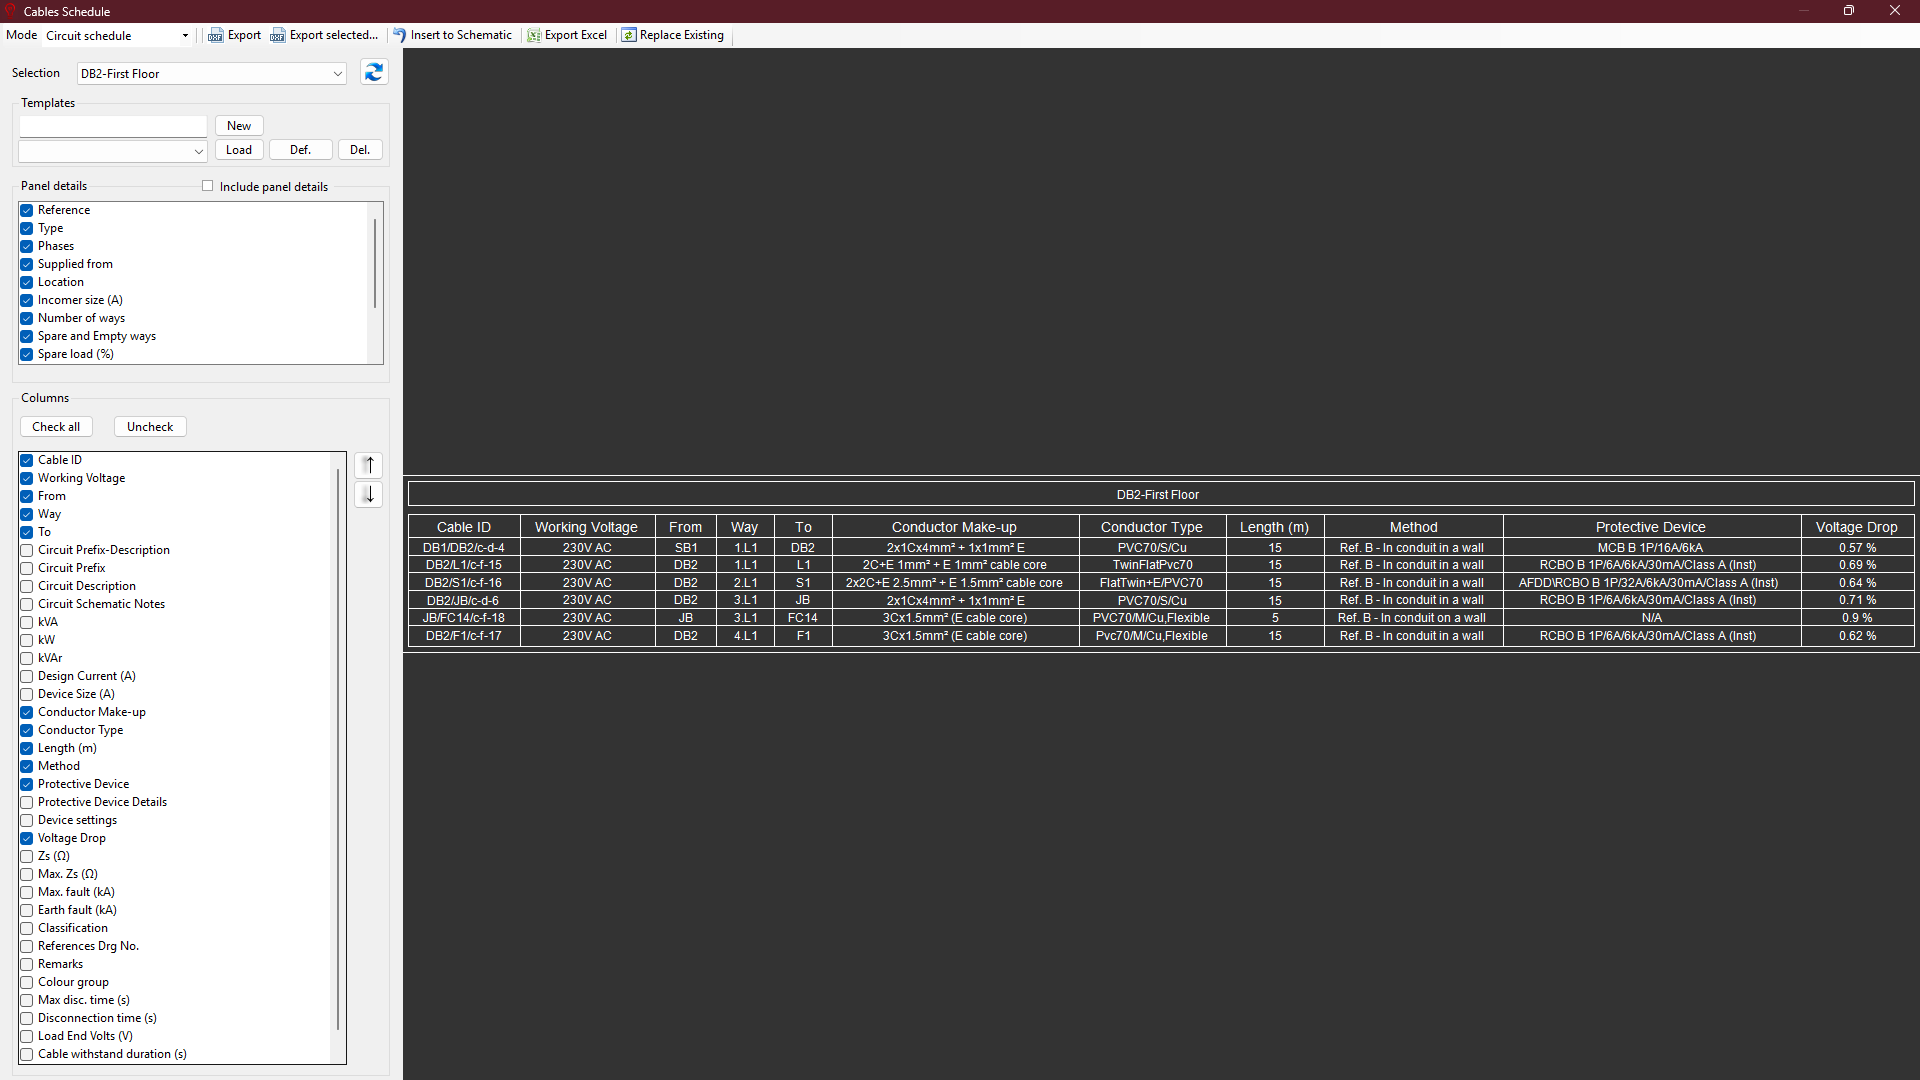
At the top, a toolbar is located.
- First object is a drop down list, Mode, where the type of the schedule is selected
- Circuit Schedule: This is a cable schedule based on circuits, however, various data can also be included other than cable properties.
- Bill of Quantities: This creates a list of protective devices used at selected board.
All of the functions mentioned below are applicable both for circuit schedule and bill of quantities options.
Then, there are various other buttons:
- Export
- Export selected...
- Insert into Schematic
- Export Excel: Export Excel button will run MS Excel instead of saving the schedule as a file directly, the user must have MS Excel installed on the system before running this command.
- Replace Existing.
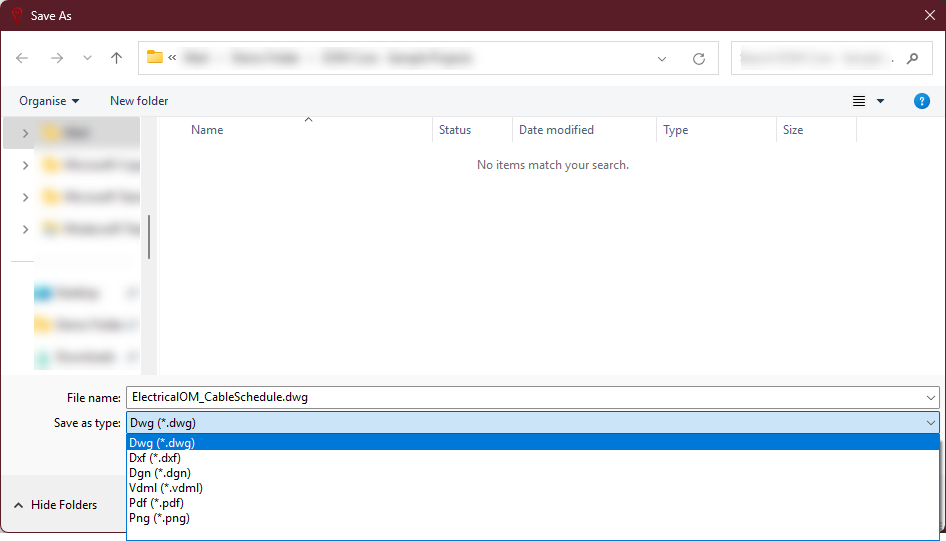
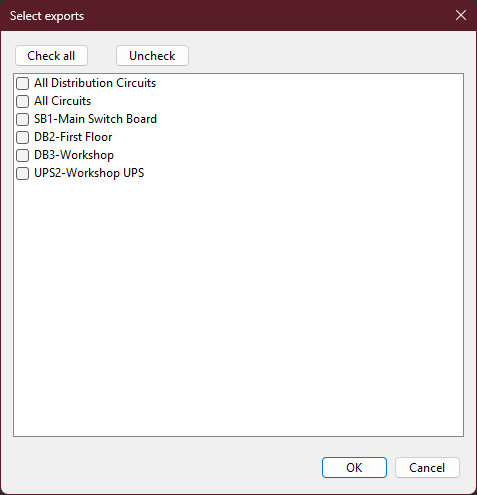
Export and Export selected options will export the cable schedule as various file types. Export selected option, as an extra, will let the user to select what to export.
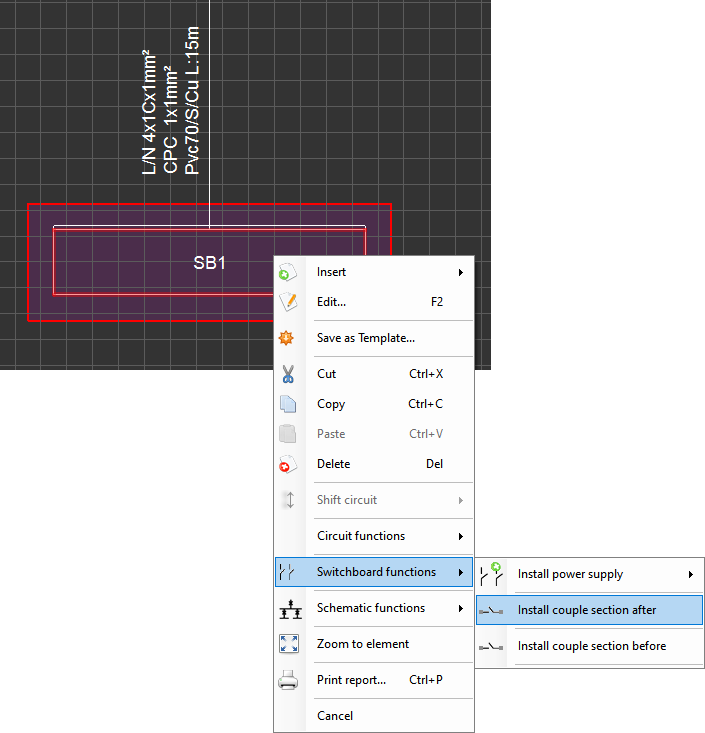
Insert to Schematic button will switch to the Schematic Module's drawing area with Drawing mode enabled and will let the user to select a location for the cable schedule. Once the left mouse button is clicked, ElectricalOM will place the cable schedule table to this location on the schematic. In or der to delete an inserted cable schedule table, Drawing mode must be used.
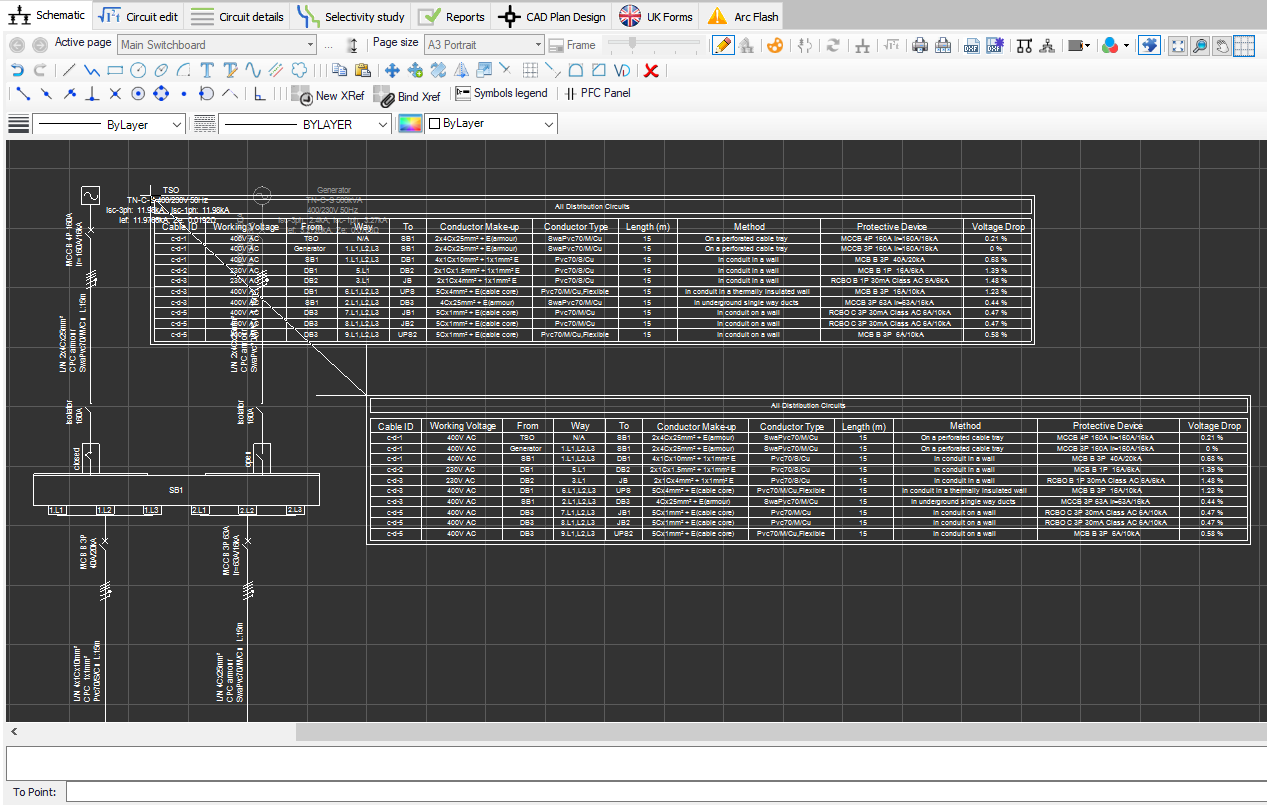
Export Excel will export the cable schedule as an Excel file.
Replace Existing button is used to replace an existing cable schedule table with a new cable schedule table after changes has been made to the existing one.
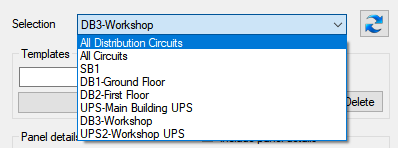
The user can use the Selection drop down list to select to show all cables, all cables associated by a distribution circuit or cables associated by any distribution node on the cable schedule table. Refresh button is used to apply any changes made, not only the selection but all settings, and view them on the print preview area.
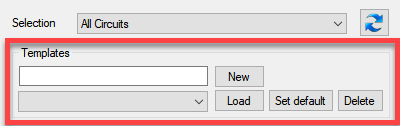
Under this section, Templates section is located. Templates are used to save the settings regard to Panel Details and Columns (but not Selection) and recall them as needed. New button will save the current settings to a new template.
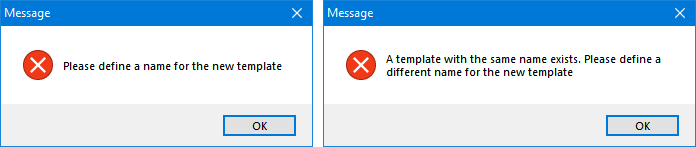
The user must type a unique name for the new template into the box next to the New button. If no name is entered or there is another template with the same name, then, ElectricalOM will warn the user with a pop up window.
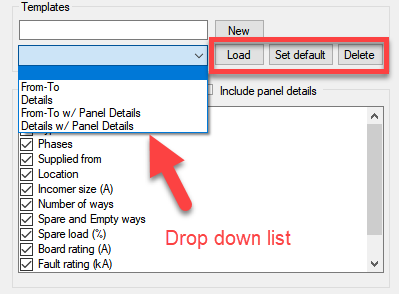
Once a template is saved, it can be:
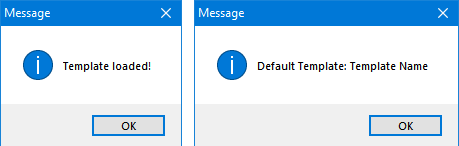
- recalled by selecting it using the drop down menu and clicking on the Load button.
- set as the default setting arrangement by selecting it using the drop down menu and clicking on the Set default button.
- deleted by selecting it using the drop down menu and clicking on the Delete button.
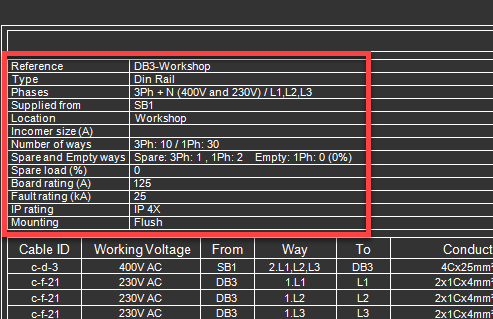
Panel details section has a tick box to enable or disable it. This is available only for distribution circuits and it will add distribution panel details to the top of the cable schedule table. The user can also select which data to appear on the table by using the tick boxes next to the options.
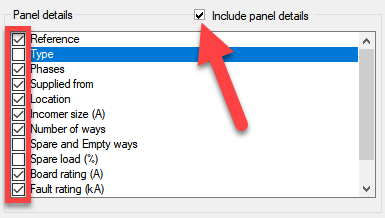
Data options for panel details are gathered from various parts of ElectricalOM but mainly from Other options tab under Circuit edit module.

Columns section accommodates all the options related with the cables and they can be sleeted using the tick boxes next to the options, and rearranged by using the up and down arrow buttons. Check all and Uncheck all buttons will automatically select or unselect the options in one click.
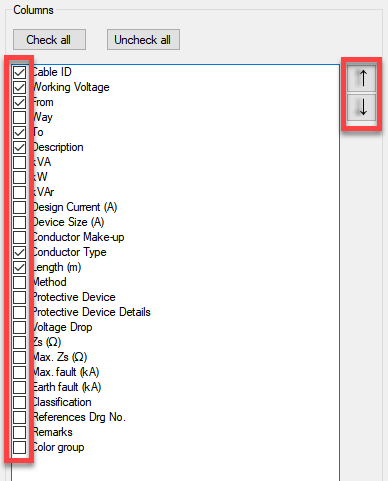
It is useful to remember that every time a change has been made, the user must click on Refresh button to apply these changes and also visually see the changes at the preview area.