Draw Wiring
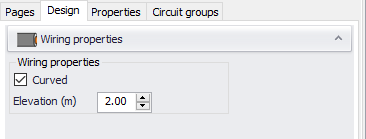
Within CAD Plan Design, cables can be drawn using this option. Once clicked on, Wiring properties window will be displayed where Curved tick box and Elevation fields can be set. Drawing a cable will start from Start point, which can be entered into the command line area, or by clicking on a point inside the drawing area, and will continue until the user perform a right-click or press Enter key. After right-clicking or pressing the Enter key, CAD Plan Design will pause drawing wiring and wait for another start point entry. A second right-click or Enter key press will finalise the drawing. The wiring from the start point up to the first right-click or Enter key will be considered as a single entity on the drawing, and when selected it will be selected as a whole, where each right-click or Enter key press will break the wiring at these points.
If it is required to connect multiple items, then, right-click/Enter key press must be performed at each connection otherwise draw wiring feature will ignore any points in between and count the wiring as a single cable from the start point to the end point.
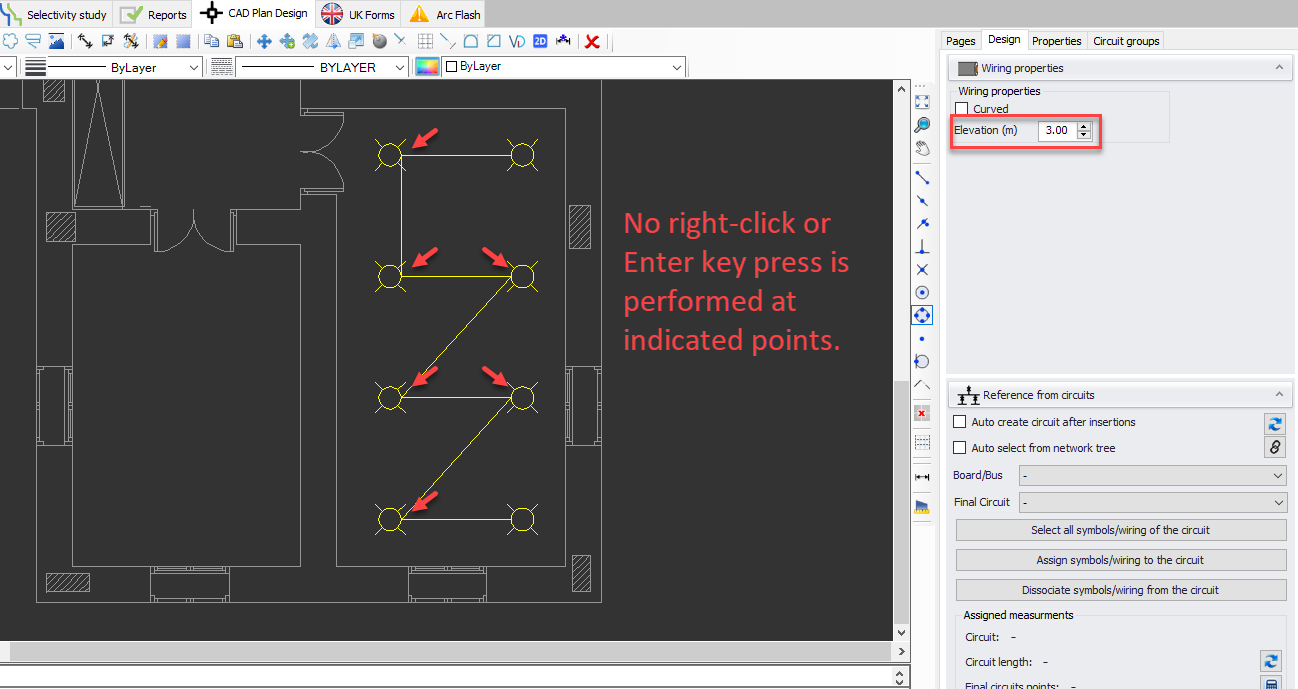
As an example, see pictures below. Here we have eight lighting points set at 2.2m, and we will draw wiring at 3m to make it easier to understand the concept. First, wiring is started from top right, then, to top left, and one level down and so on, but no right-click or Enter key press is performed at symbols.
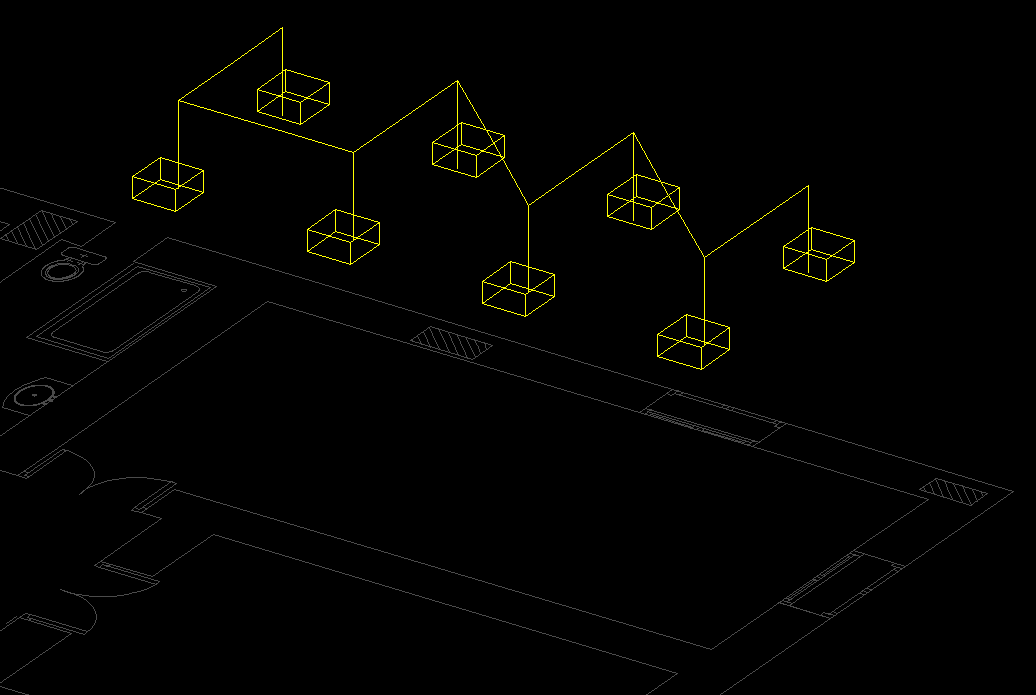
If we look at 3D view, we will see that the wiring starts from top right and ends at bottom left symbol. There is no connection to other symbols even though we clicked on them while drawing the wiring.
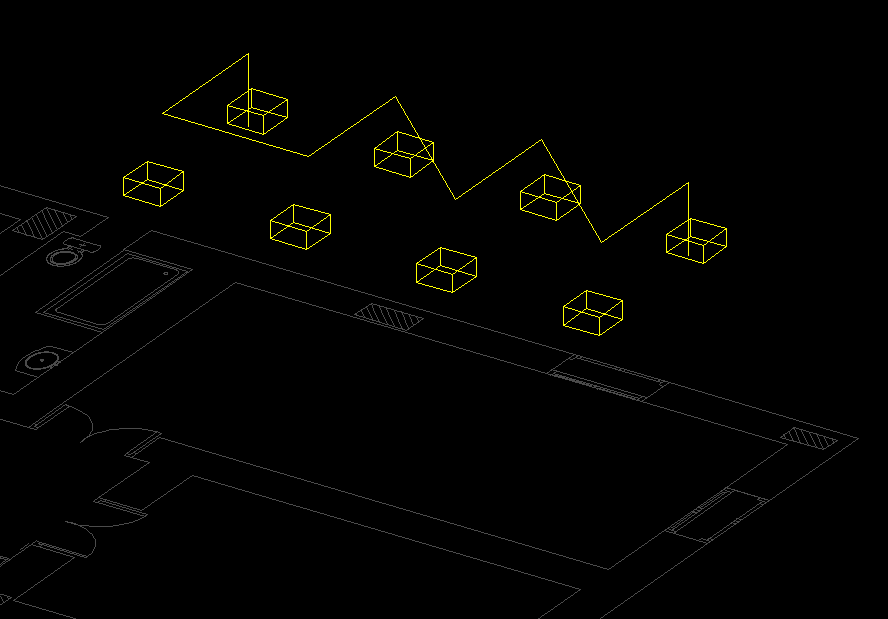
Now, we will follow the same procedure, however, this time we will hit Enter key every time we click on a symbol. This will break the cable and connect it to the symbol at these points.