Project Info Tab
Project info Tab
The data entered here will mostly be used on project report and on drawing title blocks. Except the "Calculation scenarios" section, none of the sections interfere with any kind of calculation or modelling tasks. See below for explanation for the sections:

- Project info: Project details will be shown on project report, and on the frame.

- Designer office info: Office details will be shown on project report and on the frame.
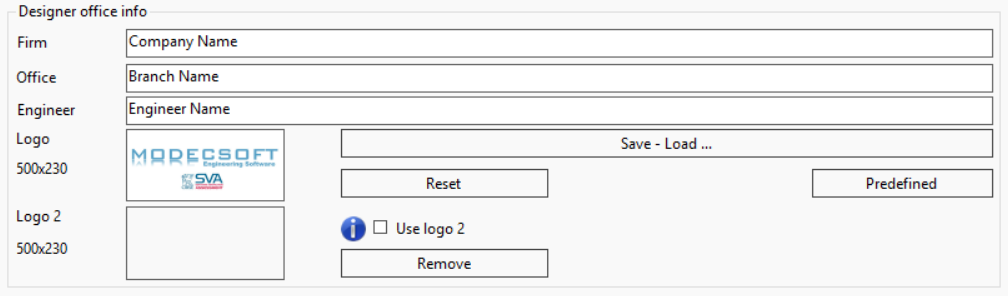
- Two logos can be set to be used on documents. Logos can be updated by clicking on the logo area, and selecting picture via a browser screen. JPG, PNG and BMP files can be used. When the "Reset" button clicked, the Modecsoft logo will be used. Logo 2 can be added by ticking the Use Logo 2 box, and can be removed by clicking on the Remove button.
- The user has the option to predefine the values by using the User defaults tab, which will be explained later, and quick fill the fields using the "Predefined" button.
- Apart from Predefined option, user also has the option to define multiple entries which can be used as needed. This is done by help of the Save - Load... button.
- In order to save the entered data or load an existing data, click on Save - Load ... button. You can define a Description for the record so you can easily identify it later on, then, click on "Save" and this will save the data as a record to the "Stored records" list.
- To load a saved record, select the desired record from the "Stored records" list and click on "Load" button.
- To delete a saved record, select the record you like to delete and click on "Delete" button. After you click on delete, a message window will pop up asking you to confirm to delete the record. If you want to proceed simply click on "Yes" if you do not want to delete the record selected, click on "No".

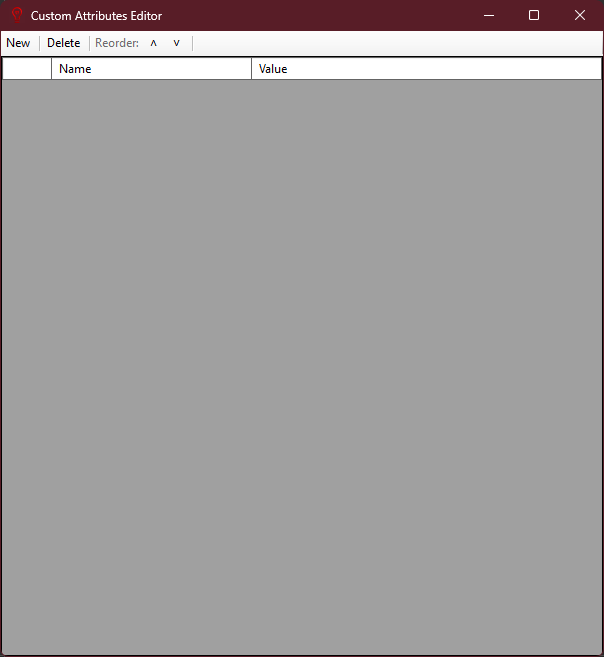
- Custom Attributes feature is used to create user defined attributes which can be used in conjunction with custom frames. See Frame Builder for details. Clicking on this button will initiate Custom Attributes Editor.
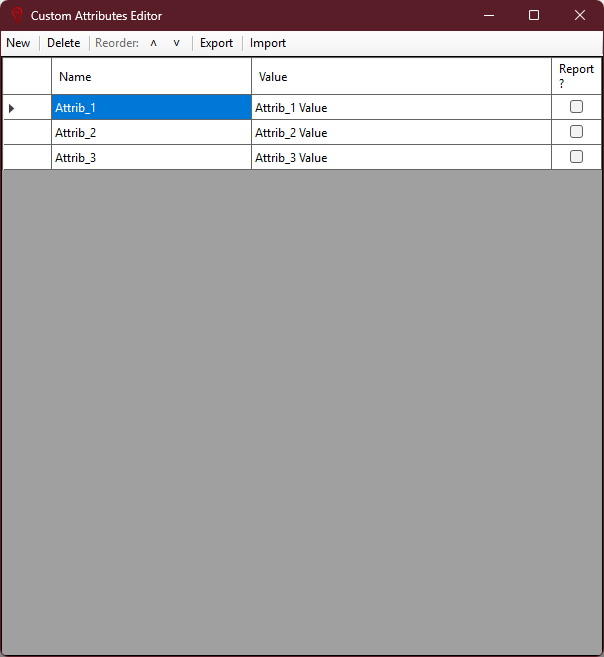
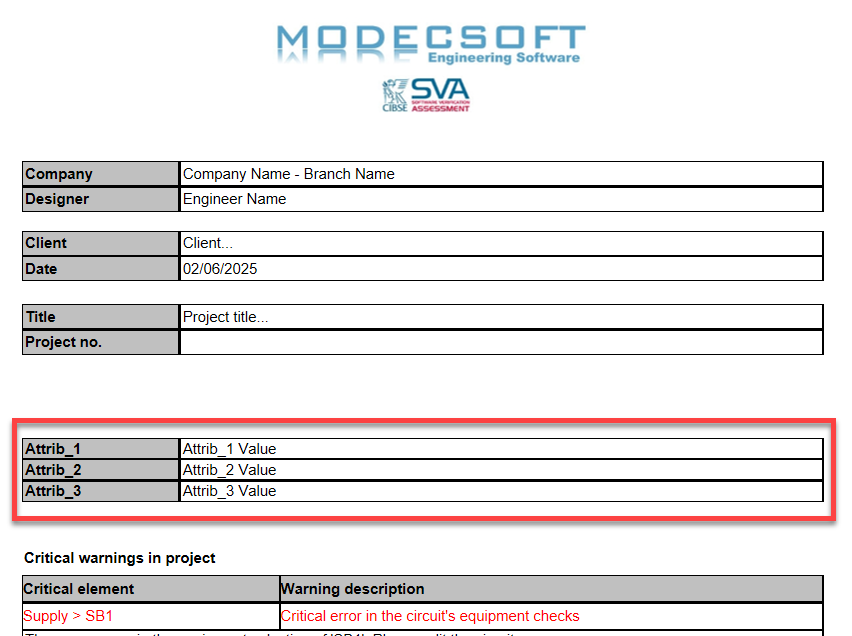
- New button will add a new line to attributes list. Name field is actually the label for the attributes. This will be displayed on the frame while building it. Value is the actual data which will be displayed once the frame is inserted to a page. Report? tick box will add this attribute to cover page of the project's report.
- Delete button will delete selected attribute.
- Reorder arrows will more the selected attribute up or down.
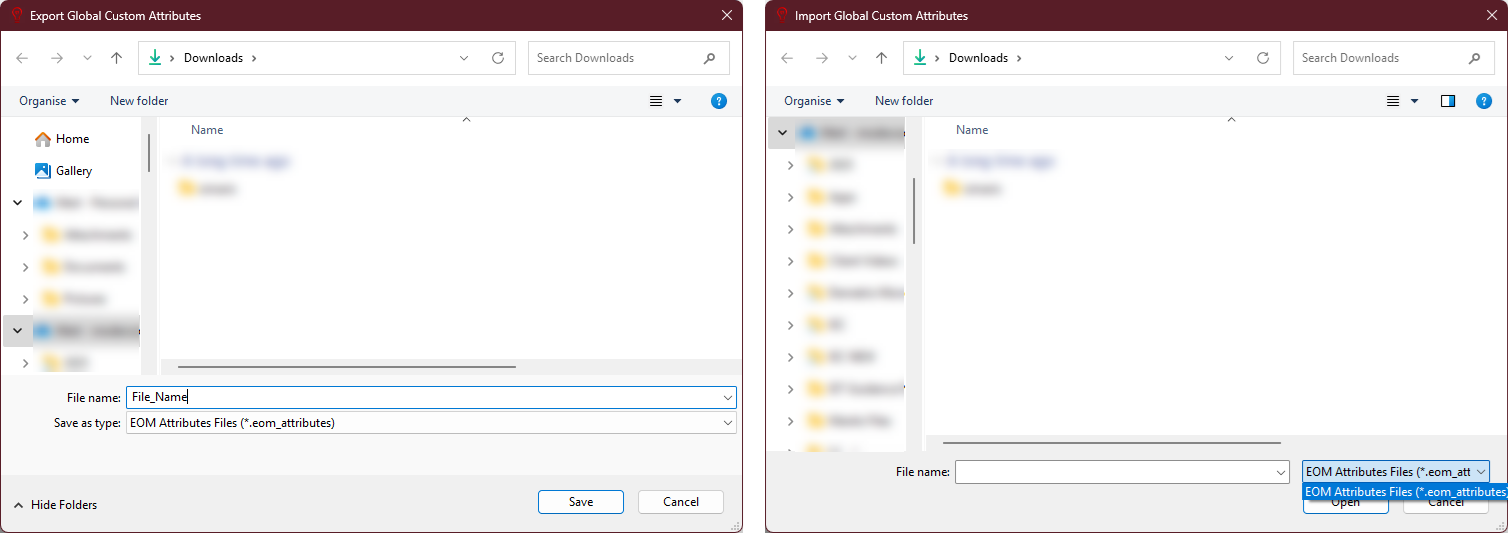
- Export will export current list of attributes. File type is .eom_attributes.
- Import will import an existing attributes list.