Common Certificate Toolbar Options

Toolbar shown above is a generic toolbar, and all the buttons above will be available for all certificates. Additional to the buttons above, there are buttons, like MobileOM, Fill from design, etc., assigned to certain functions related with specific certificates or pages of certificates. These special buttons are discussed under the related certificate's section.
- Apply button will apply and save any changes made to a certificate. The font of the button will change to red if there are changes which are not saved. Once the button is pressed, changes will applied and saved, and the font colour will turn to black.
- Certificate status button is used to change the status of a certificate. Once clicked Certificate Status window will pop up.
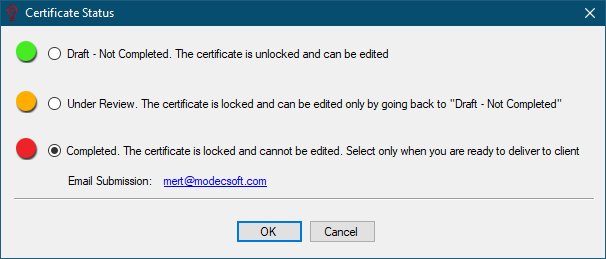
There are three options available: - Draft - Not Completed: The certificate is unlocked and can be edited.
- Under Review: The certificate is locked, however, it can be edited by reverting the status to Draft - Not Completed.
- Completed- Locked: The certificate is locked, non-editable and status cannot be changed. In order to unlock a certificate marked as Completed, please contact Modecsoft Support at support@modecsoft.com.
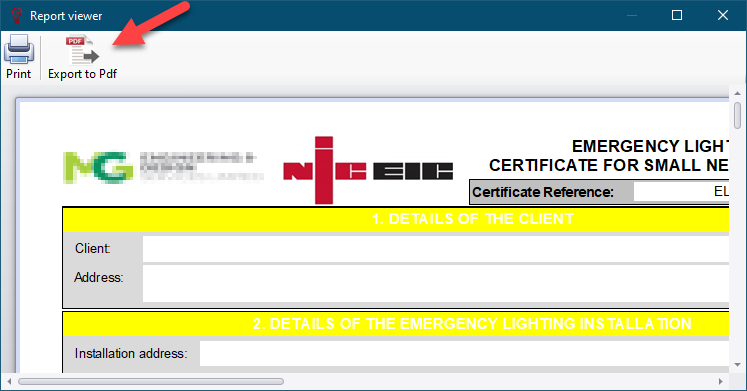
If Completed option is selected, Email Submission option becomes active. The email address link can be used to access to Email Submission window, see Submission Tab. - Print button will display a print preview screen. Using the buttons on the toolbar, it is possible to proceed with print job, or export the document as a PDF document.
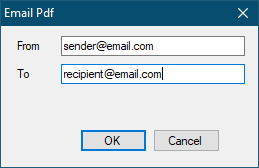
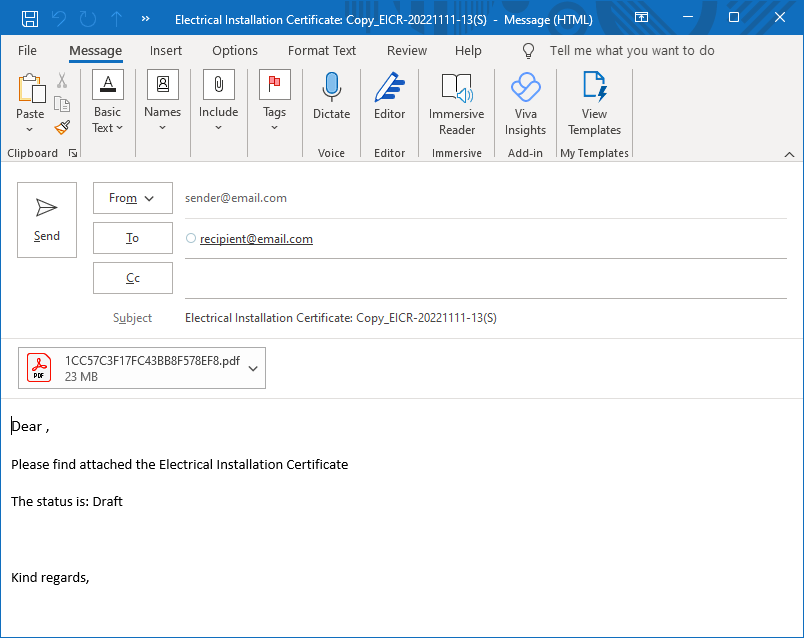
- Email button will display a dialogue box in which you can enter sender and recipient's email addresses. When you click OK button clicked. the default email software will be initiated with a PDF file attached.
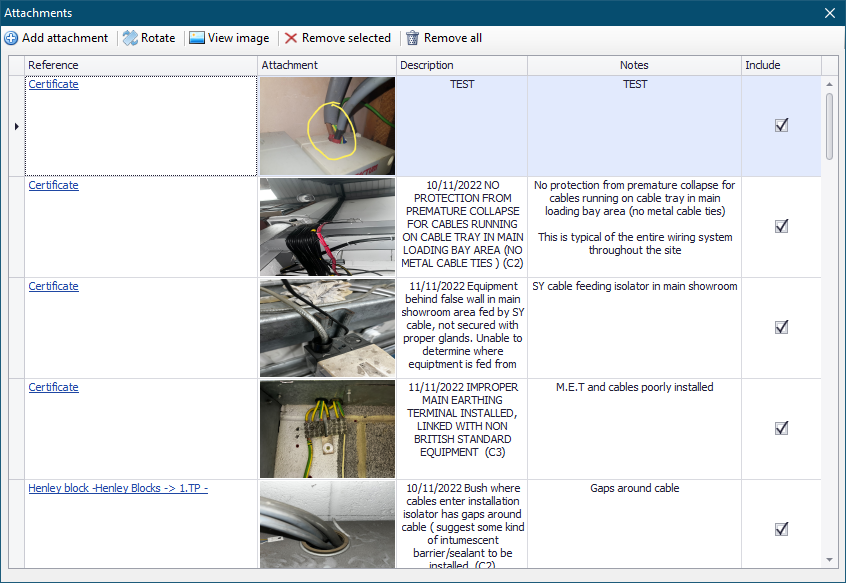
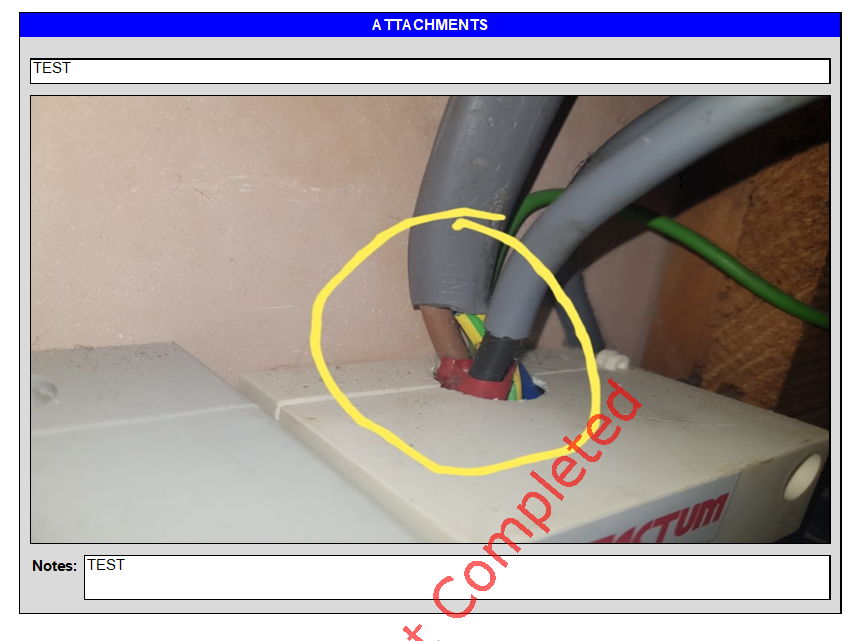
- Attachments button will display the Attachments window. This is where you can see all the images attached to the report. Reference column will indicate the item which image is associated. It is also possible to add images manually, but remember these will be referenced to the Certificate and will be shown under a new section, Attachments, at the end of a certificate or report. Include box can be used to include or exclude an item from the report.
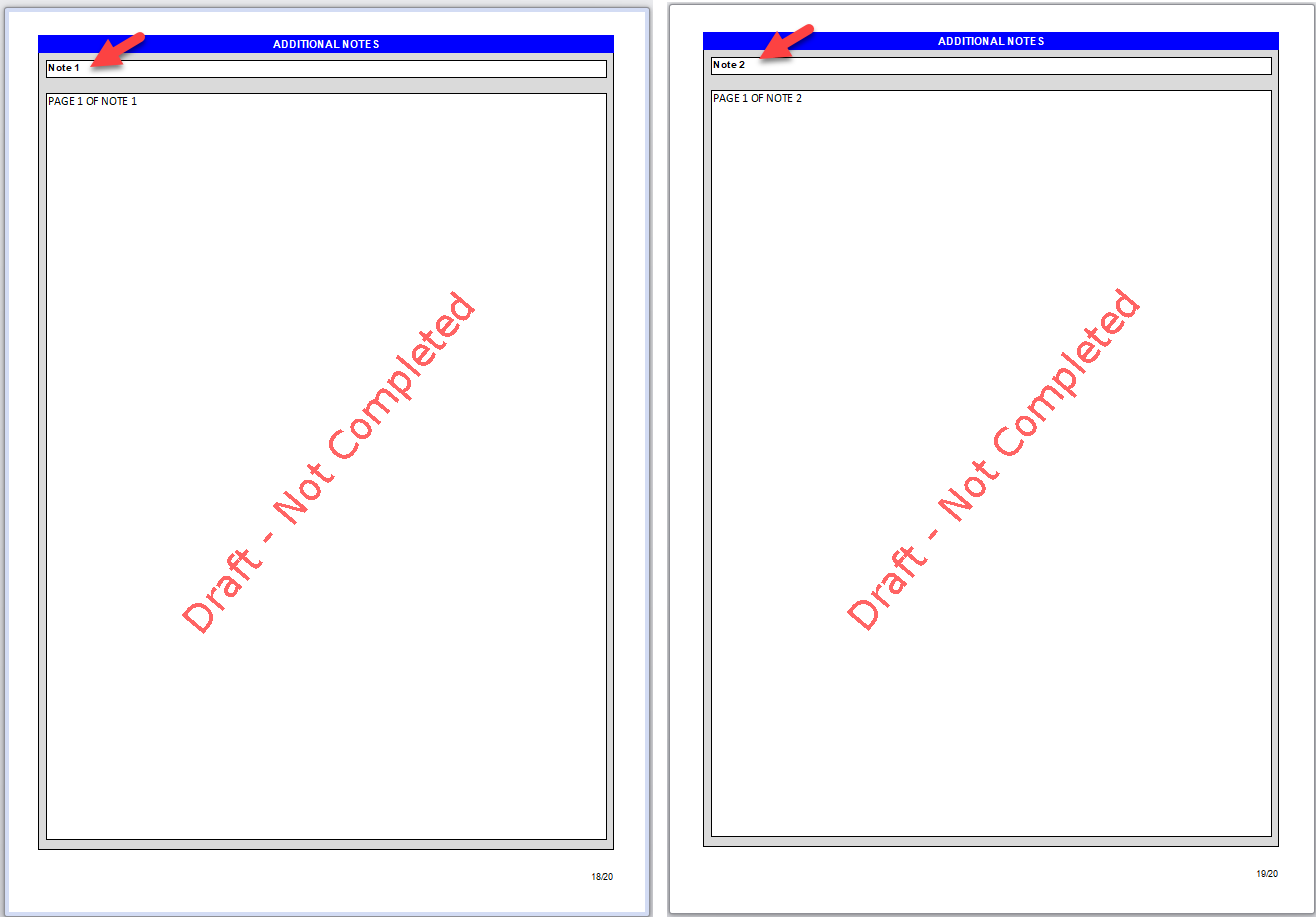
- Add Note button will initiate the built-in word processor, and add a new tab, Additional Note (Included), to the active document. This tab represents an additional Notes section which will be inserted at the end of the active document. Notes can be multi-page, there is no need to use Add Note button for each page. However, Add Note button can be used multiple times to create new sections for operate notes.
When a note page tab is active, it can also be right-clicked. This will present three options to the user:
- Rename... will enable the user to rename the page title.
- Include in certificate tick box will enable the user to add or remove the note page from the certificate to be generated.
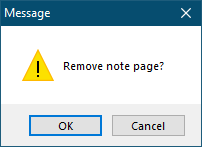
- Remove note page will delete the note page and the Additional Note tab. A warning pop-up screen will be displayed for approval.


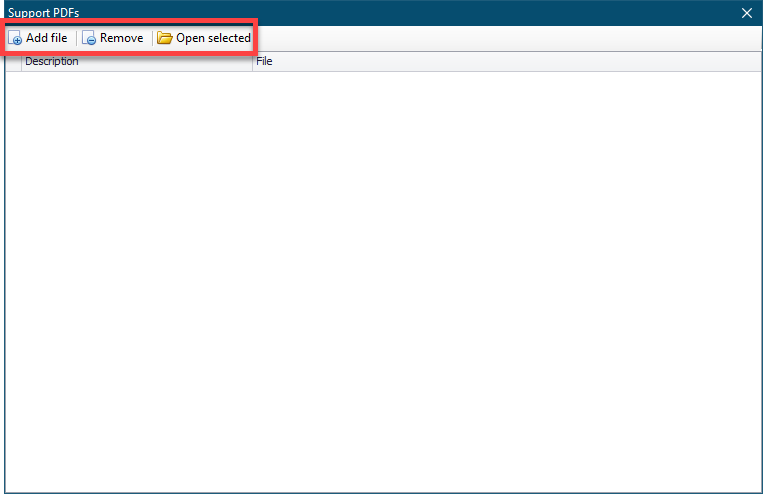
- Support Files button will display a small window where you can Add/Remove additional PDF files. This action will attach files to the end of the document. They will not appear as parts of the document, and will not be numbered. Open selected button will open the selected file in your default PDF viewer software.
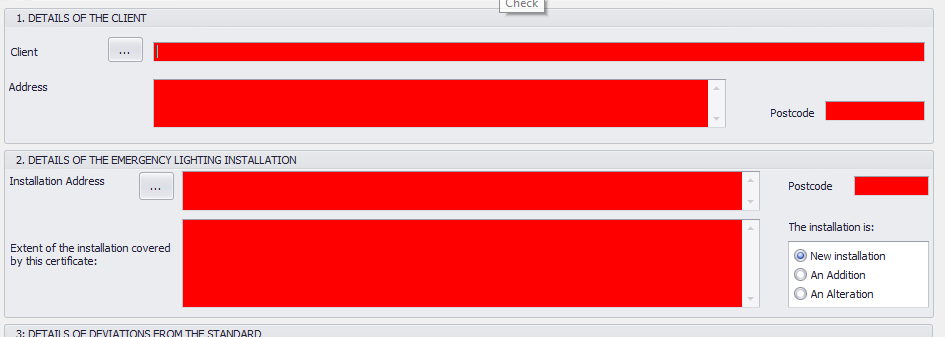
- Check button will highlight empty fields in red to help you to easily see if you missed field to fill in.
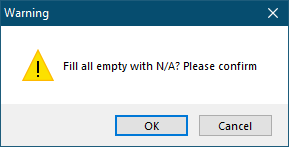
- Fill empty fields with N/A (Empty N/A) button will fill all empty fields with N/A. An confirmation pop-up windows will be displayed before finalising the action.
- Properties button will initiate current certificate's properties window where details can be modified. Please refer to Creating New Certificates for further details.